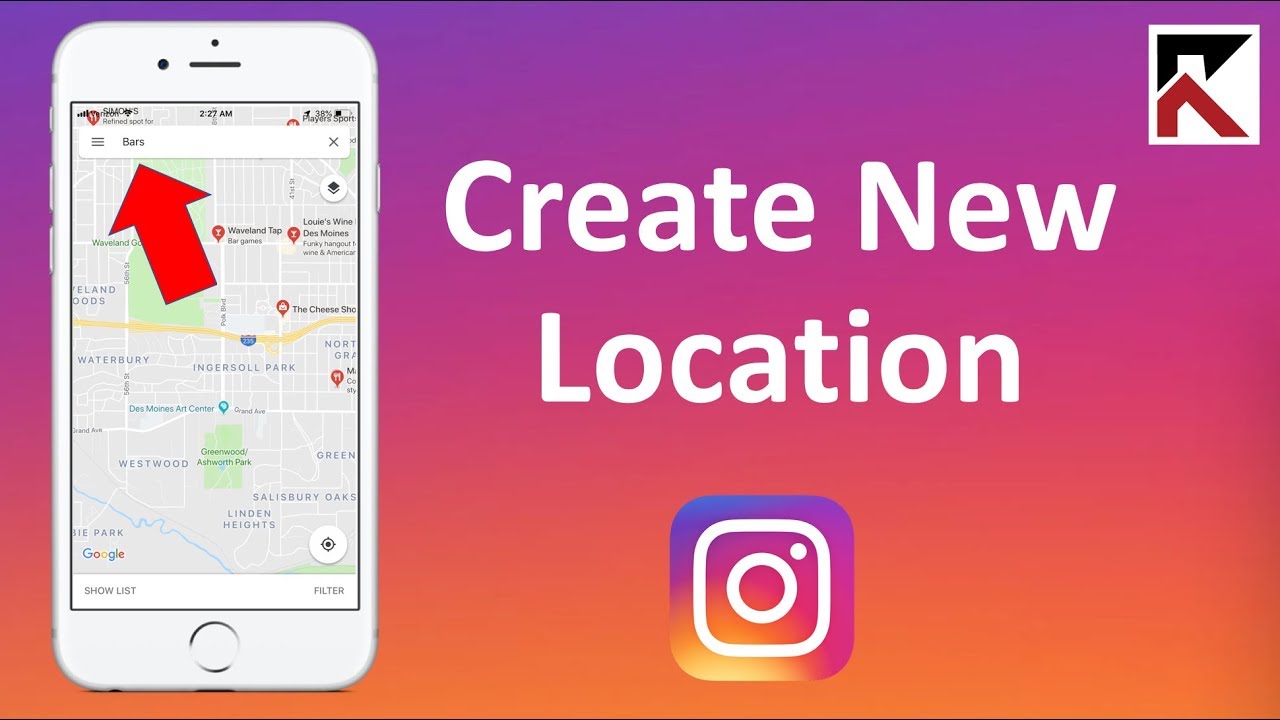
How to create your own location on instagram step by step guide

Understanding Locations on Instagram
Instagram is a powerful platform for sharing moments, connecting with friends, and promoting businesses. One of the unique features that enhance user experience is the ability to tag locations in posts and stories. But have you ever wondered how to make your own location on Instagram? The process might seem tricky at first, but with a little bit of guidance, you can effortlessly create a custom location that represents your favorite spots—or even your own business.
In this article, we will guide you through the ins and outs of creating your own location on Instagram. Understanding how Instagram handles locations can help you maximize your visibility and connect with a broader audience.
The Importance of Custom Locations
Custom locations on Instagram serve multiple purposes:
- Brand Recognition: Creating a location for your business can enhance brand visibility.
- User Engagement: Unique locations attract users and encourage them to tag themselves when visiting.
- Content Strategy: Utilizing specific locations can improve your content strategy and make your posts more discoverable.
- Memorable Experiences: Customized locations create a sense of belonging and community among followers.
Now that we understand their importance, let’s dive into how to generate your own location on Instagram effectively.
How to Create Your Own Location on Instagram: A Step-by-Step Guide
The process of creating a new location on Instagram is straightforward if you follow these simple steps. You will need a Facebook account connected to your Instagram as the location feature is powered by Facebook Places.
Step 1: Create the Location on Facebook
The first step in your journey to making a custom location is to create it through Facebook. Here’s how you can do it:
- Go to Facebook and log in to your account.
- Click on Check In at the status update box.
- In the “Find a Place” option, type the name of the location you want to create. If it doesn’t exist, there will be an option to Create a New Place.
- Enter the required information:
- Name: The name of your location.
- Category: Choose a fitting category that describes your location best.
- Address: Fill in the exact address.
- Phone Number: (Optional) You can add a contact number.
- Description: Write a brief description of the location if needed.
Congratulations! You have successfully created a new location on Facebook. This step is crucial as Instagram pulls location data from Facebook Places.
Step 2: Tagging Your New Location on Instagram
After creating the location on Facebook, head to Instagram:
- Open the Instagram app and tap the plus (+) icon to create a new post.
- Choose a photo or video and tap Next.
- Before posting, tap on Add Location.
- In the search bar, type the name of the new location you just created. It should appear in the list.
- Select the location and complete your post by tapping Share.
Your followers can now see and tag the location in their own posts, which increases its visibility.
Promoting Your Custom Location
After successfully creating and tagging your location, the next step is to promote it effectively:
- Encourage User-Generated Content: Ask your customers or followers to share their experiences at your location. User-generated content not only enhances engagement but also makes your location more visible.
- Run an Instagram Campaign: Consider running a marketing campaign with a specific hashtag related to the new location. This promotes its use and additional exposure.
- Highlight it in Stories: Create Instagram Stories showcasing your new location, and encourage your followers to visit and tag the location.
- Collaborate with Influencers: Partnering with local influencers can also help spread the word. Their followers may visit your location, further increasing engagement.
Every interaction made at your tagged location enhances its reputation and makes it a popular place for Instagram posts.
Monitoring Interaction with Your Location
Once your custom location starts gaining traction, **monitoring its engagement** is essential. Here’s how you can keep an eye on how well it’s performing:
- Use Instagram Insights: If you have a business account, use Instagram Insights to analyze post engagements and check the locations tagged by followers. This valuable data can inform future marketing strategies.
- Follow Hashtags: Keep track of the associated hashtags to see more user-generated content related to your location.
- Engage with Followers: Actively engaging with users who tag your location will build community and promote further tagging.
By monitoring these interactions, you can adapt your strategy for maximum impact.
Common Mistakes to Avoid
Creating a custom location for Instagram is relatively simple, but some common pitfalls can hinder your success. Here are a few mistakes to avoid:
- Provision of Incorrect Information: Ensure that all details entered when creating the location are accurate. Incorrect information can mislead users.
- Neglecting to Promote: If you fail to promote your new location, you may miss engagement opportunities. Taking proactive steps is key.
- Ignoring Analytics: Not tracking performance metrics can lead to missed insights and adjustments that could benefit your location.
- Failing to Engage: Ignoring user posts and comments related to your location can create a barrier between you and your audience.
By avoiding these common mistakes, you will create a more successful custom location on Instagram.


